MoveIt!のPython APIを使ってNEXTAGEを動かしてみよう
NEXTAGEで遊ぼう02
開発環境
| OS | ROS ver | |
|---|---|---|
| Ubuntu12.04LTS(64bit) | Hydro |
はじめに
前回に引き続きMoveIt!のユーザーインタフェースについて解説していきます。
move_groupのインタフェースについて
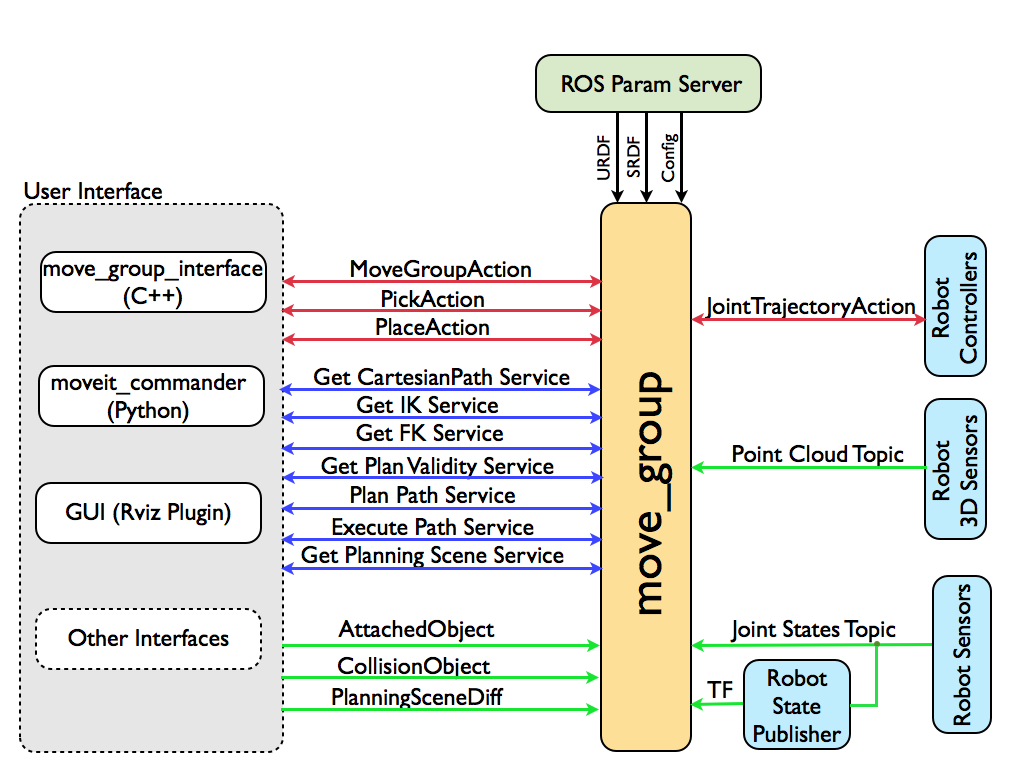
MoveIt!の各種機能はmove_groupを介してユーザに提供されます。
そして、このmove_groupをPython側で使用するためにmoveit_commanderモジュールを使用します。
サンプルプログラムの解説
動作確認
今回の解説に使用するサンプルプログラムをGitHubにアップしました。
https://github.com/ros-japan-users/nextage_moveit_planning_execution
これを各自のワークスペースでビルドしてください。
/path/to/catkin_ws/src$ git clone https://github.com/ros-japan-users/nextage_moveit_planning_execution

/path/to/catkin_ws/src$ cd ..
/path/to/catkin_ws$ catkin_make
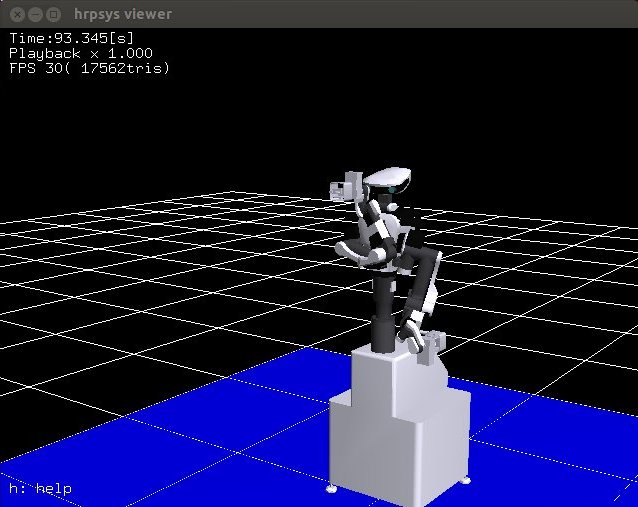
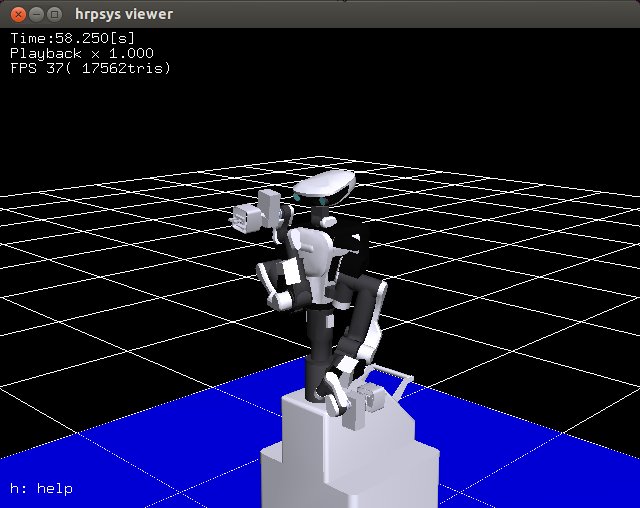
まずは、サンプルプログラムの動作を確認するためにシミュレータを起動しましょう。
$ rtmlaunch nextage_ros_bridge nextage_ros_bridge_simulation.launch
move_groupの起動とcontextの設定を行わせるlaunchファイルは以下のコマンドで実行できます。
$ roslaunch nextage_moveit_planning_execution planning_execution.launch
サンプルプログラムを実行する。
$ rosrun nextage_moveit_planning_execution moveit_command_sender.py
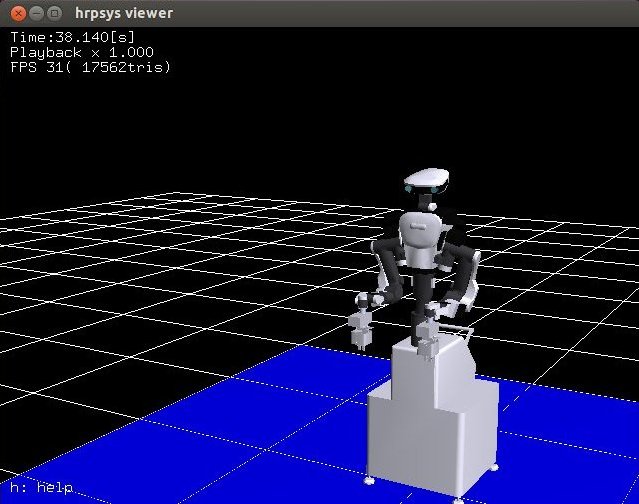
シミュレータ上のNEXTAGEが動作する様子を確認できましたでしょうか?
無事動作すれば環境構築は一通りできていることになりますので、これからプログラムの中身を見ていきましょう。
command_sender関数にアームの動作が記述されているのでこの中のコードを解説します。
自分の好きな動きをさせたい場合には、command_sender関数の中身を真似しながら自由に書き換えて使ってください。
セットアップ & 基本情報の取得
robot = moveit_commander.RobotCommander()
RobotCommanderクラスはロボット全体に対するインタフェースです。
print "=" * 10, " Robot Groups:"
print robot.get_group_names()
print "=" * 10, " Printing robot state"
print robot.get_current_state()
print "=" * 10
get_group_names()
ロボット内のすべてのグループのリストを取得
get_current_state()
デバッグの際に有効なロボット全体の状態を取得
rarm = moveit_commander.MoveGroupCommander("right_arm")
larm = moveit_commander.MoveGroupCommander("left_arm")
MoveGroupCommanderは特定のグループのための単純なコマンドの実行を行うクラスです。
今回は右腕と左腕のグループをそれぞれ使用します。
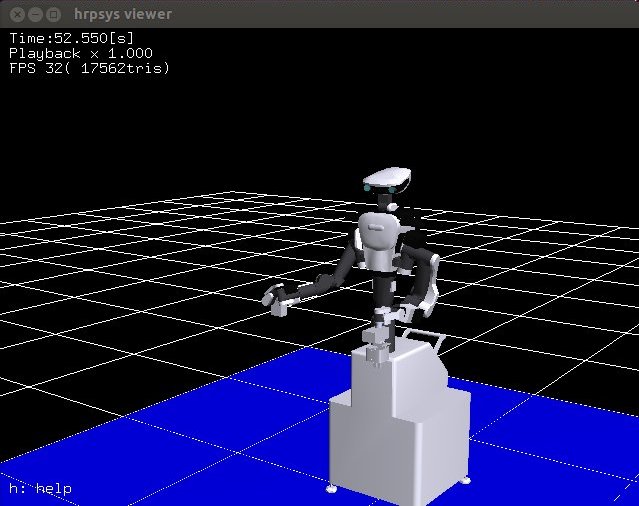
目標姿勢への移動
print "=" * 15, " Right arm ", "=" * 15
print "=" * 10, " Reference frame: %s" % rarm.get_planning_frame()

print "=" * 10, " Reference frame: %s" % rarm.get_end_effector_link()

rarm_initial_pose = rarm.get_current_pose().pose
print "=" * 10, " Printing initial pose: "
print rarm_initial_pose
get_planning_frame()
すべての計画が実行されたフレームの名前を取得
get_end_effector_link()
エンドエフェクタであると考えられるリンクの名前を取得
エンドエフェクタが存在しない場合は空の文字列を返す
get_current_pose(end_effector_link = "")
エンドエフェクタの現在の姿勢を取得
エンドエフェクタが存在しない場合は例外を投げる
target_pose_r = geometry_msgs.msg.Pose()
target_pose_r.position.x = 0.2035
target_pose_r.position.y = -0.5399
target_pose_r.position.z = 0.0709
target_pose_r.orientation.x = 0.000427
target_pose_r.orientation.y = 0.000317
target_pose_r.orientation.z = -0.000384
target_pose_r.orientation.w = 0.999999
rarm.set_pose_target(target_pose_r)

print "=" * 10, " plan1..."
rarm.go()
rospy.sleep(1)
set_pose_target(pose, end_effector_link = "")
エンドエフェクタの姿勢を設定 poseは4種類の入力に対応
- Poseメッセージ
- PoseStampedメッセージ
- [x, y, z, rot_x, rot_y, rot_z]
- [x, y, z, qx, qy, qz, qw]
go(joints = None, wait = True)
指定された目標にグループを移動
target_pose_l = [
    target_pose_r.position.x,
    -target_pose_r.position.y,
    target_pose_r.position.z,
    target_pose_r.orientation.x,
    target_pose_r.orientation.y,
    target_pose_r.orientation.z,
    target_pose_r.orientation.w
]

larm.set_pose_target(target_pose_l)

print "=" * 10, " plan2..."
larm.go()
rospy.sleep(1)
右腕と同じように左腕も目標を設定して、そこに向かって移動させています。
ただし、set_pose_targetメソッドへの入力にPoseメッセージではなくfloat型のリストを使用しています。
今回は姿勢の設定にクォータニオンを使用しましたがロール・ピッチ・ヨーも使えます。
関節空間で目標を設定
関節空間で目標を設定して、アームを移動させてみましょう。
print "=" * 10, " Planning to a joint-space goal"
rarm.clear_pose_targets()
print "=" * 10, " Joint values: ", rarm.get_current_joint_values()

rarm_variable_values = [
    1.4377544509919726,
    -1.3161643133168621,
    -2.126307271452489,
    1.4335761224859305,
    0.02359653211486051,
    0.55989121526186
]

rarm.set_joint_value_target(rarm_variable_values)

print "=" * 10, " plan3..."
rarm.go()
rospy.sleep(1)
clear_pose_targets()
すべての目標をクリア
set_joint_value_target(arg1, arg2 = None, arg3 = None)
グループ毎に目標関節の構成を指定するために使用
arg1
辞書 : 関節変数名とその目標値のペアを指定
リスト : すべての変数の値を指定
JointStateメッセージ : いくつかの単一自由度の関節の位置を指定
arg2とarg3に関しては今回は使用しません。
我々が設定した目標姿勢をクリアするためにclear_pose_targetsメソッドを初めに呼び出しています。
set_joint_value_targetメソッドにすべての変数の値をリストで渡して目標を設定しています。
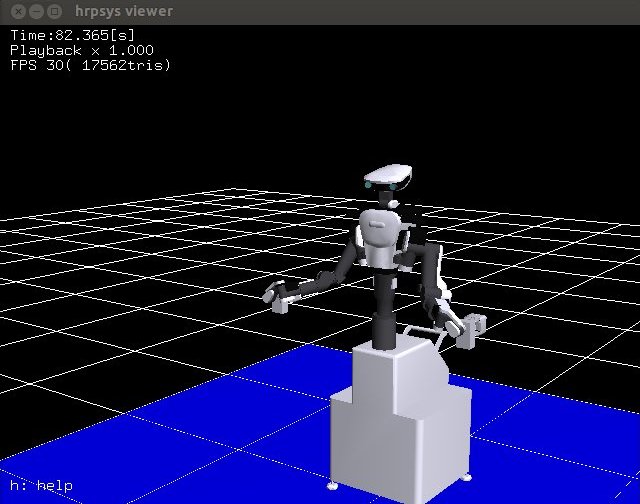
中間地点を結ぶ経路を計画
print "=" * 10, " Cartesian Paths"
waypoints = []

waypoints.append(larm.get_current_pose().pose)

wpose = geometry_msgs.msg.Pose()
wpose.orientation.w = 1.0
wpose.position.x = waypoints[0].position.x
wpose.position.y = waypoints[0].position.y - 0.15
wpose.position.z = waypoints[0].position.z
waypoints.append(copy.deepcopy(wpose))

wpose.position.z -= 0.1
waypoints.append(copy.deepcopy(wpose))

wpose.position.y -= 0.05
waypoints.append(copy.deepcopy(wpose))

(plan, fraction) = larm.compute_cartesian_path(waypoints, 0.01, 0.0)

print "=" * 10, " plan4..."
larm.execute(plan)
rospy.sleep(5)
compute_cartesian_path(waypoints, eef_step, jump_threshold, avoid_collisions = True)
指定された複数の中間地点が繋がるように経路を計画
waypoints
中間地点
eef_step
コンフィグレーション空間内の計算の分解能[m]
jump_threshold
結果として返す経路内の連続する点間のコンフィギュレーション空間における最大距離を指定
0.0で無効化
execute(plan_msg)
渡された経路を追従
waypoints間を1cmの分解能で補完させるためeef_stepには0.01を指定しました。
また、動作計画の結果(RobotTrajectoryクラス)をexecuteメソッドに渡して経路を追従させています。
print "=" * 10, " Moving to an initial pose"
rarm.set_pose_target(rarm_initial_pose)
larm.set_pose_target(larm_initial_pose)
rarm.go()
larm.go()
rospy.sleep(2)
プログラム開始時の姿勢に戻してプログラムは終了です。
ここではMoveIt!に関して、ハッカソンで動かすために最低限必要なものだけを解説しましたが より詳しいことが知りたい方は以下のURLを見ておくといいと思います。
http://moveit.ros.org/documentation/tutorials/
以上
blog comments powered by Disqus
Published
Category
ROSTags
Profile
千葉工大産のロボットナビゲーションエンジニア
ros-jpの勉強会の主催やロボカップ世界大会優勝チームのリーダをやってました。
badge_description about badge's
総訪問者数
ツイート